Craft/DIY Ideas, Uncategorized

Handmade Christmas 2016: Fingerless Gloves

Howdy, and welcome back. I hope you have a chance to enjoy this gorgeous fall weather!

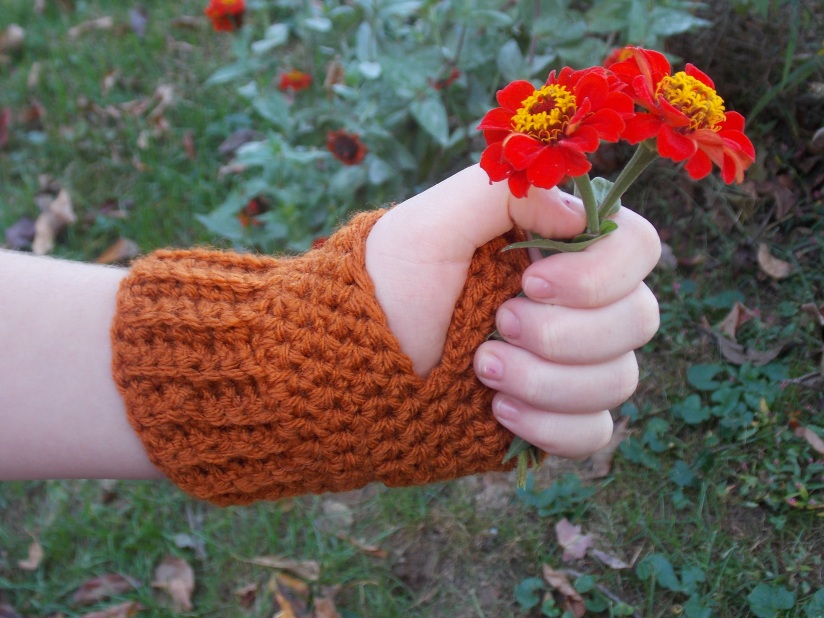
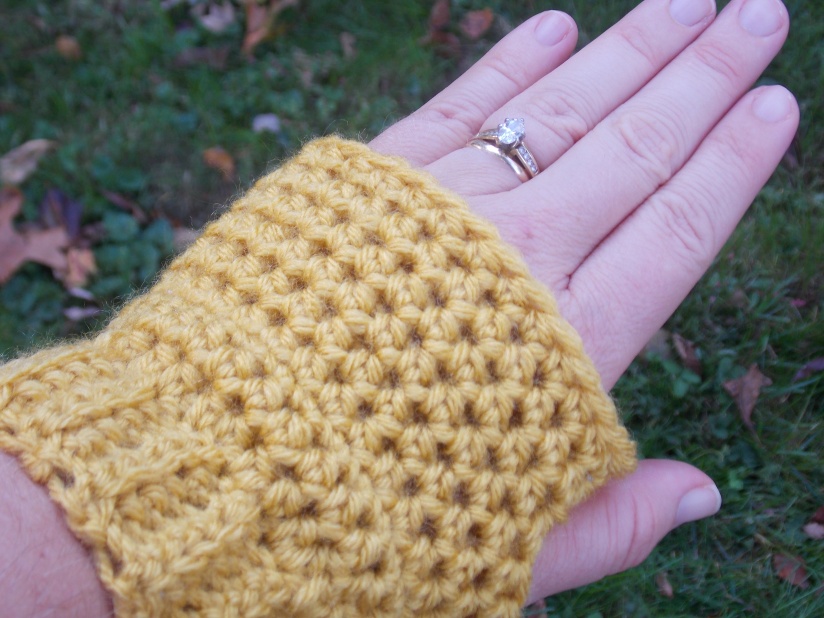
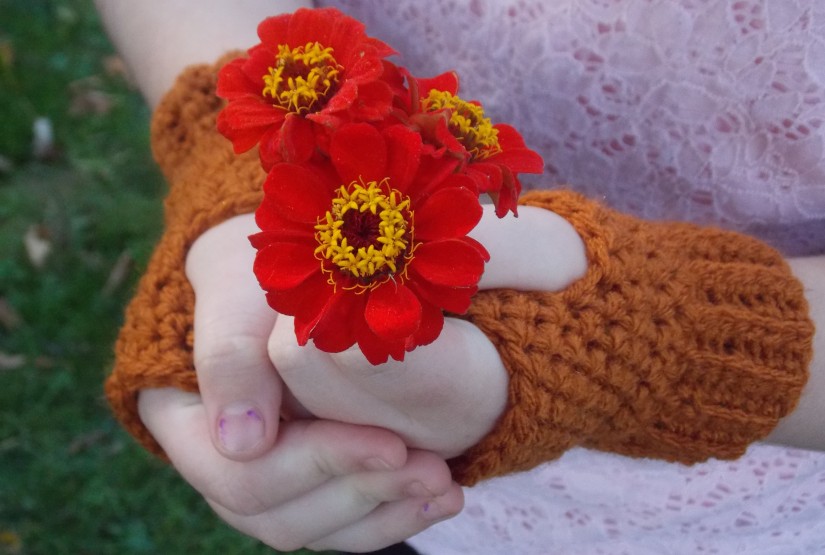
Fall is definitely here, so I thought it would be a perfect time to share this wonderful crochet pattern. I have been cranking out different pairs of these cute fingerless gloves as of late.

dscn4906

The pattern is not difficult, and I think that if you have a just a little bit of crochet experience, you could easily make these. It appealed to me because I am not an expert crocheter and am intimidated by making ones with fingers!

I found this pattern on Red Heart Yarn’s website, and it is free to access and print out.

They would make a super cute, stylish Christmas gift for a child, teen, or adult.

dscn4908

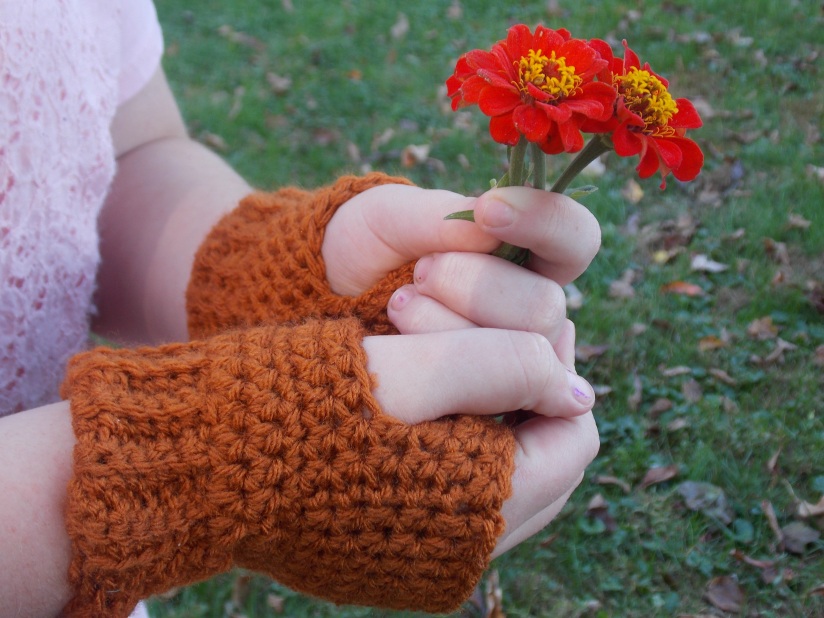
This particular pair is modeled by my 11 year old daughter, who has been wearing a purply pair of these that I made almost every morning to school!

These beauties don’t use up a ton of yarn, and take maybe 1 1/2-2 hours to make (depending on how many interruptions you have!). Once you make one pair, it’s easy to crochet up some more.

dscn4904

Great for chilly fall days and the approaching winter cold. The Red Heart website has tons of other cute glove patterns too!

dscn4907

Craft/DIY Ideas, Uncategorized

Handmade Christmas 2016: Simple Sugar Hand Scrub

Welcome Back.

Today I am sharing another item that can easily be made for Christmas gifts to give to friends, teachers, neighbors, bus drivers, etc. Or you can make some for yourself!

The idea I have to share is for a simple Sugar Hand Scrub.

march-2015-003

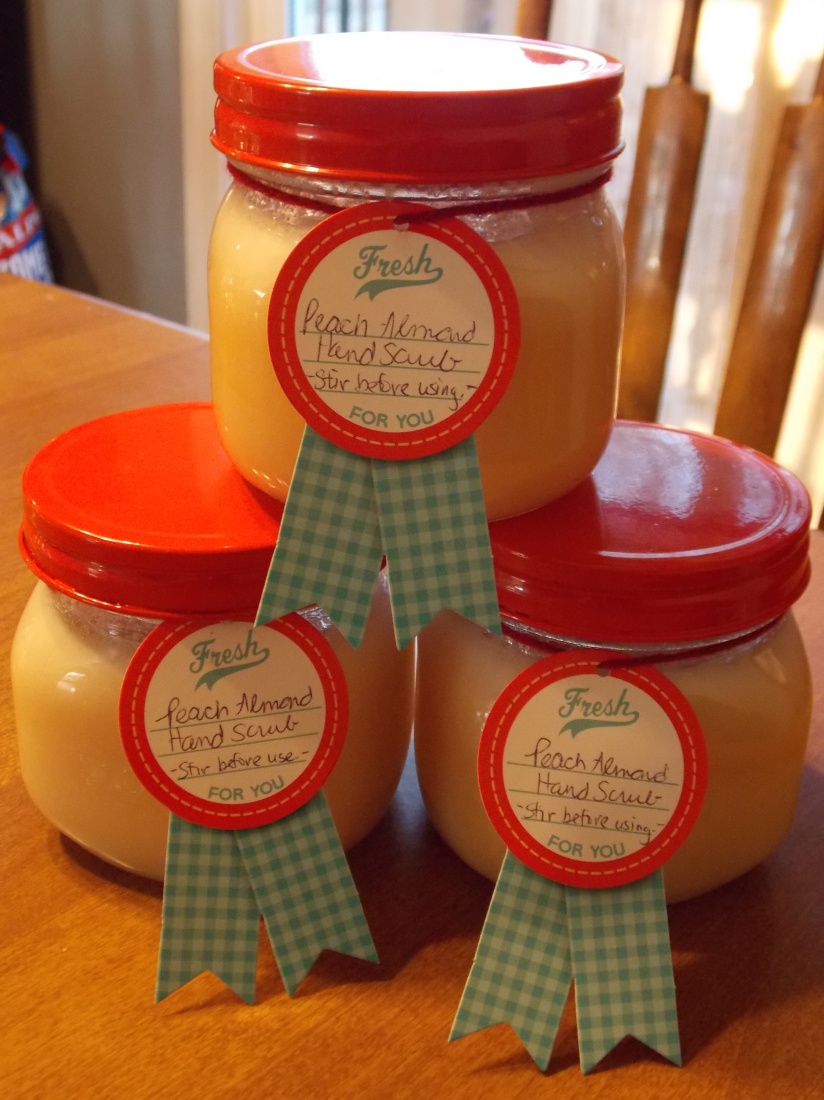
I can attest to the fact that this is an easy, inexpensive thing to make. It also works really, really well and makes your hands oh-so-soft. I gave these out as teacher gifts 2 years ago and they got rave reviews.

march-2015-004

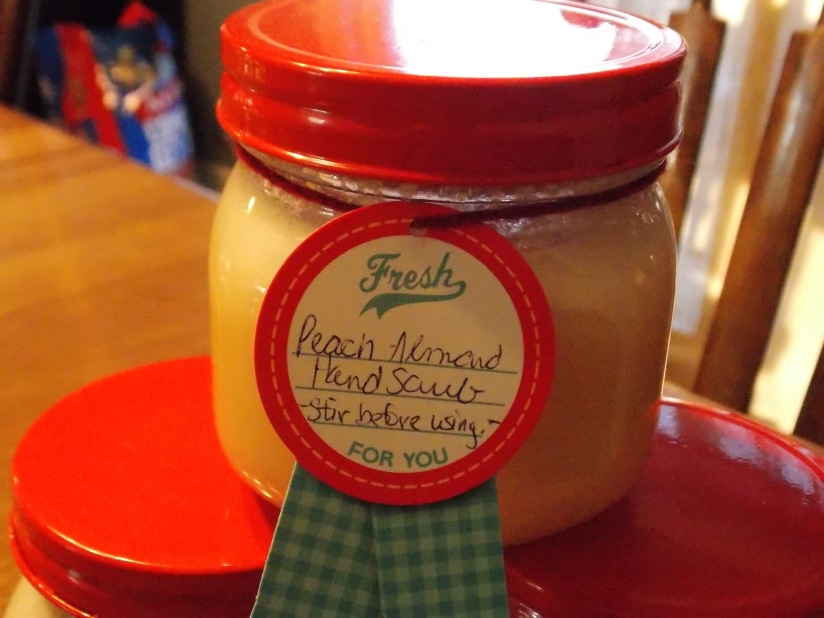
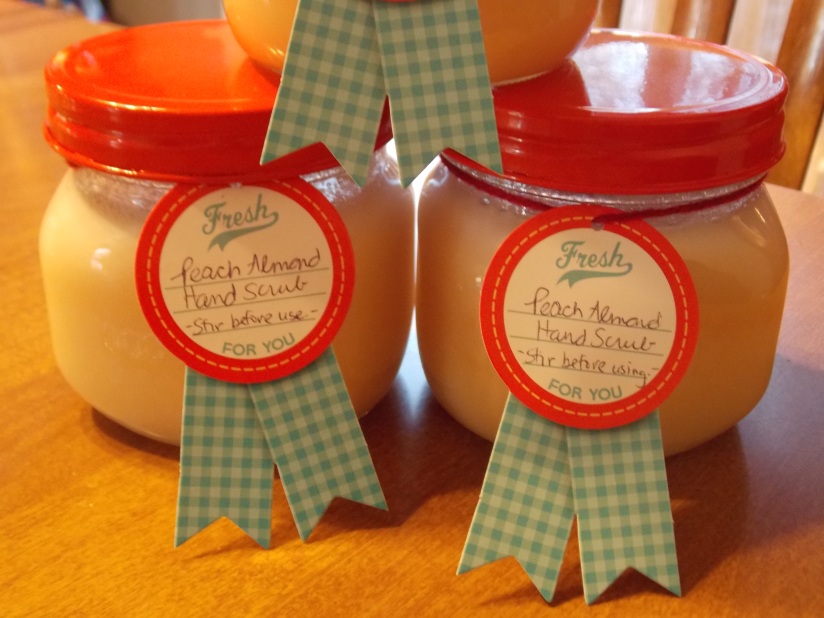
These only take two ingredients to make: white sugar and Dawn with Olay Hand Renewal (this now comes in a variety of scents).

Here’s the basic directions if you’d like to make some this holiday season:

Pick out a cute container to put your scrub in. I would recommend glass or plastic.

Fill container at least 1/2-3/4 full of the white sugar. Fill the rest of the way up with the Dawn Hand Renewal. Leave a little space at the top as you now need to mix these together without getting them all over the place! Stir up really, really well until sugar is thoroughly incorporated. Put your lid on and make a cute tag to attach to it. (I recommend just a short note saying that it does need to be stirred right before using. That sugar will tend to settle.) Then, voila! Done!

march-2015-002

That was easy. Even if you are not crafty you can totally do this. I promise.

Craft/DIY Ideas, Uncategorized

Handmade Christmas 2016: Button Bookmarks

Christmas gift ideas have started to pop into my mind already. If you know me well at all, you’ve likely heard me state that I can’t stand the over-commercialization of Christmas. I love the simplicity of a thoughtful handmade gift.

This fall I plan to share some of my old & new ideas for sweet little handmade gifts, beginning with these cute bookmarks. I originally shared these waaaay back in 2011 and it’s one of the most popular posts I’ve had since I’ve been blogging! They are perfect for avid readers, obviously, and especially ones who still appreciate a great paper copy.

Thinking of trying to make some  yourself? All the materials you’ll need are: fabric scraps, paperclip, button-cover kit, and hot glue/gun.

All it takes are a few simple steps:

1. Cut out a fabric circle approximately twice the diameter of the button cover.

2. Place the fabric printed side facing down in the button-cover mold.

3. Push the front half of the button rounded side down on top of the fabric.

4. Tuck the edges of the fabric into the center, and then press the button back into it until it is firmly encased.

5. Thread the paperclip through the shank of the button until the button rests at the top rounded edge.

6. Hot glue in place. I dabbed hot glue around the shank area and also where the edges of the button back rest on the paperclip.


Craft/DIY Ideas, Uncategorized

Creation Jar Terrarium

Today I am sharing an idea that I just pulled off this past weekend for our church VBS.

The theme was “Walk Thru the Old Testament,” which begins with Creation!

As usual, I was the craft lady, so I wanted everyone to take home something neat that would last. As my second-oldest has been enthralled with making terrariums, I had a light bulb moment one day that a “Creation Terrarium” would be cool.

DSCN4666

It turned out to be a huge hit! As we had a different format this year and families did VBS together, both adults and kids had the opportunity to make one.

DSCN4667

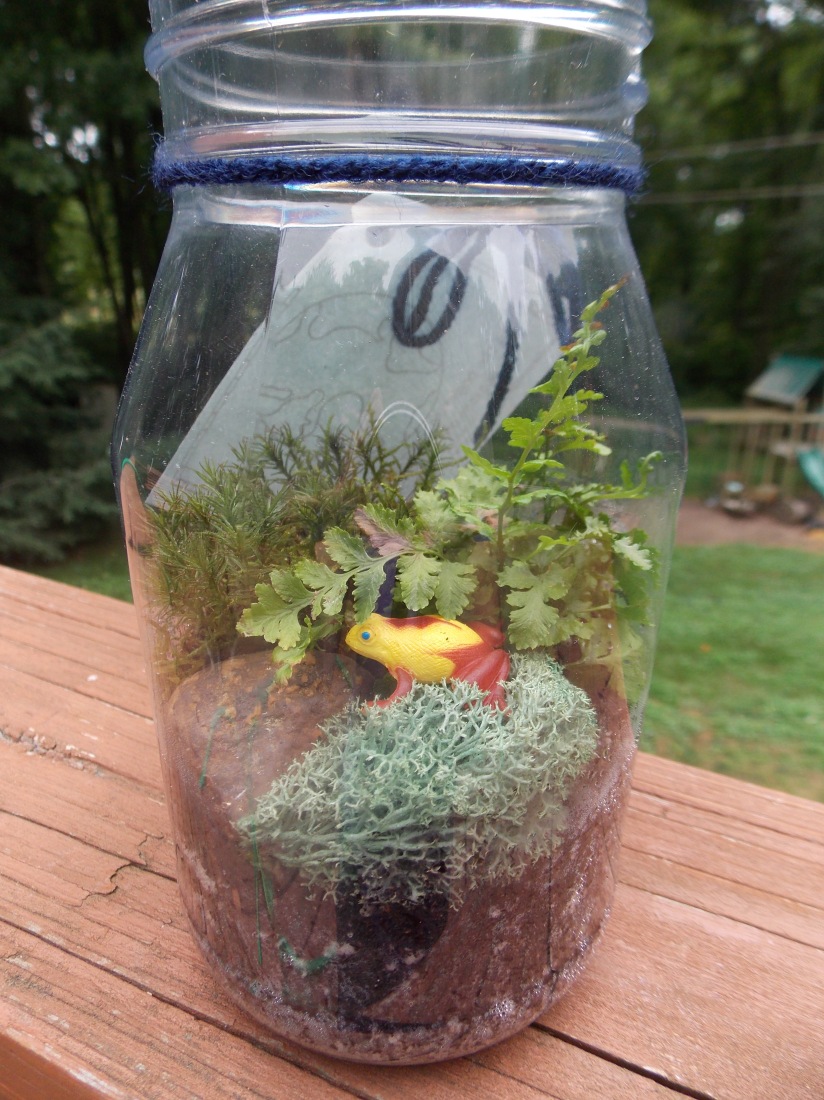
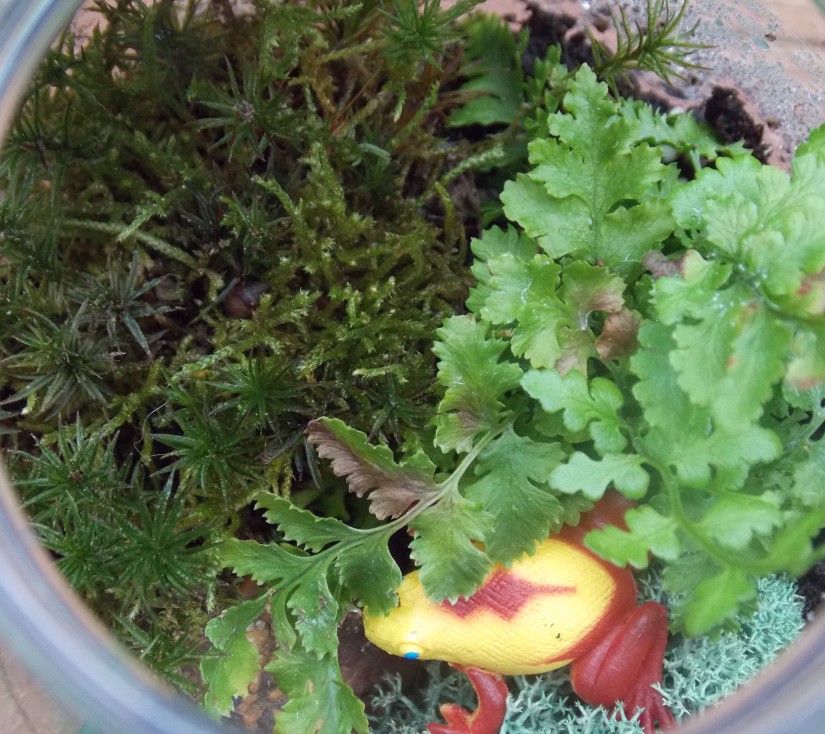
I incorporated different elements of Creation–animals, rocks, plants, soil…

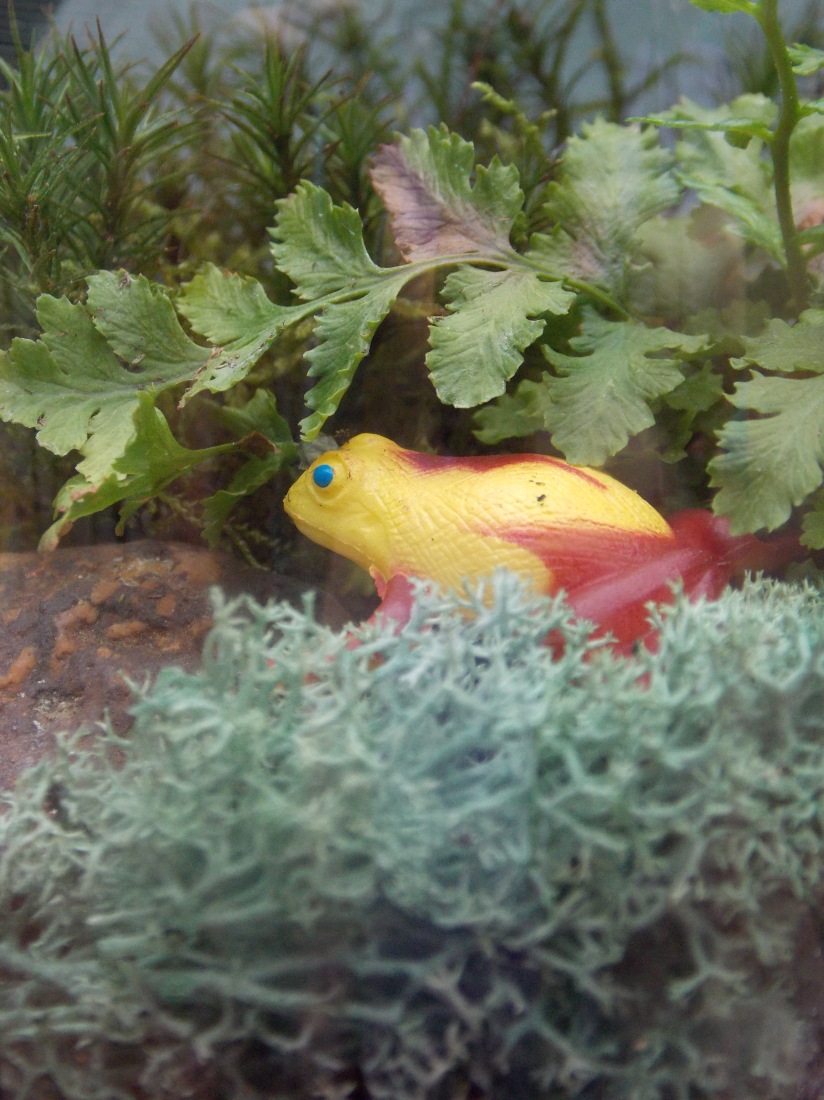
Some kids placed little frogs in theirs and others put in small animals that I had available.

DSCN4670

To pull this off for a group, I set it up like an assembly line. Here is the order in which I placed things:

  • plastic quart jar
  • gravel
  • potting soil
  • small fern (we used leather wood ferns)
  • moss (some foraged from our area and reindeer moss)
  • small animal
  • small rock
  • lid
  • twine or yarn, already cut
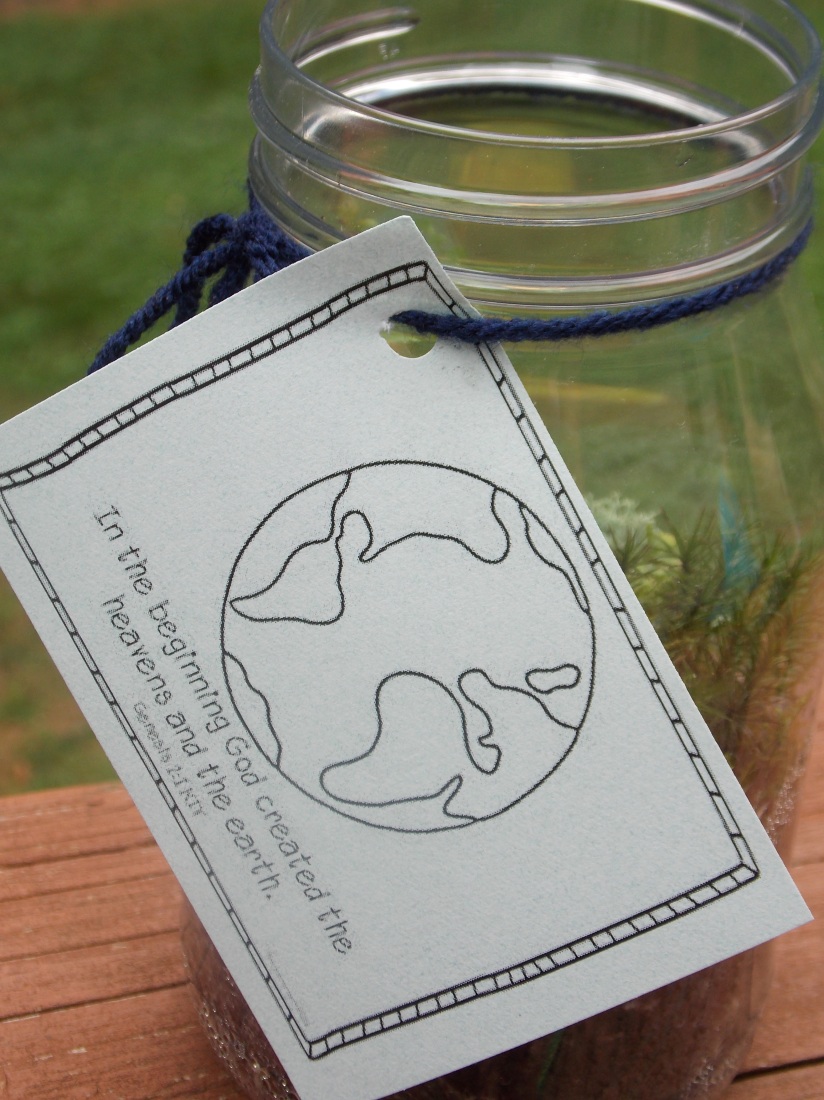
  • tag with markers to write their name on

I also put down brown roll paper on the tables to make for easy clean-up, which worked quite nicely!

DSCN4671

Overall, I’m pretty pleased with how they turned out. Unfortunately I didn’t get good pics with my camera while this was going down:( The kids made some really neat ones, and they were all just a little different!

If you’re looking for a cool, non-junky VBS craft, this is a great option. A little more involved than what I usually have, but well worth it!!

Craft/DIY Ideas, Uncategorized

Denim Pocket Rug

I have sorely neglected my blog lately. Too much end-of-the school-year craziness, followed by the annual adjustment to summer and kids being home 24/7. I apologize and will totally admit that I miss writing!

Also, I have not shown a single decent crafty project in a long , long while. Believe me, it’s not for lack of making things:)

One thing that I’ve totally been into is repurposing denim to make cool stuff. I will perhaps share one or more denim projects in the near future. Here’s one that I found to make with all the pockets of jeans I’ve cut up and basically deconstructed.

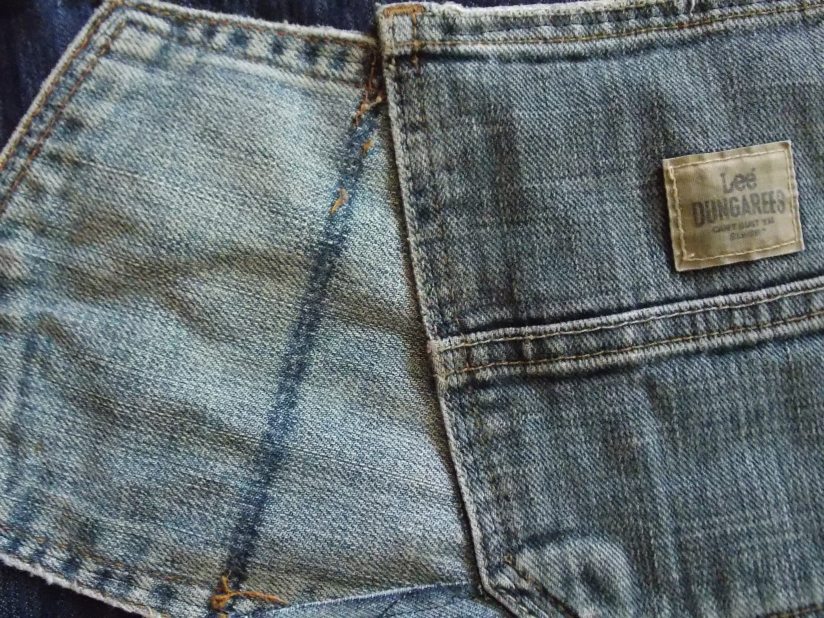
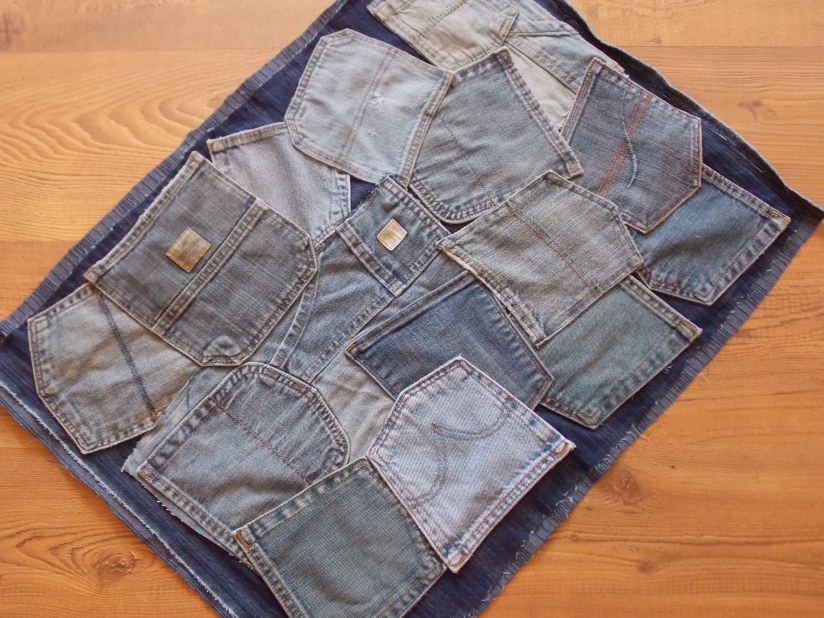
DSCN4601

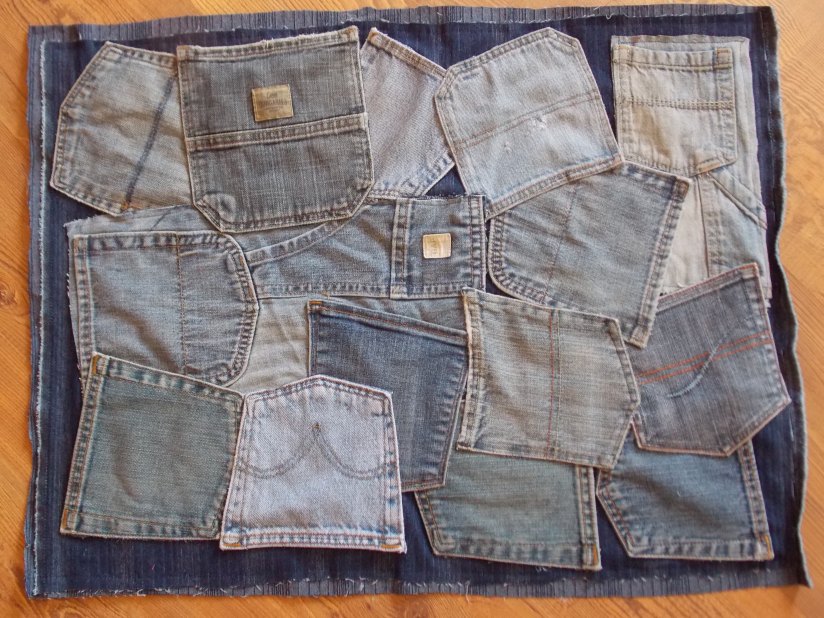
A sturdy little accent rug. I saw an example or two on Pinterest and decided to try a small one to see if I liked it or not.

I did not do any step-by-step pictures, but I can give a brief rundown of how it was made. Basically I took a rectangle of denim, then took a variety of pockets that had already been cut out and arranged them randomly all over the rectangle. I pinned each one down to hold them in place.

DSCN4603

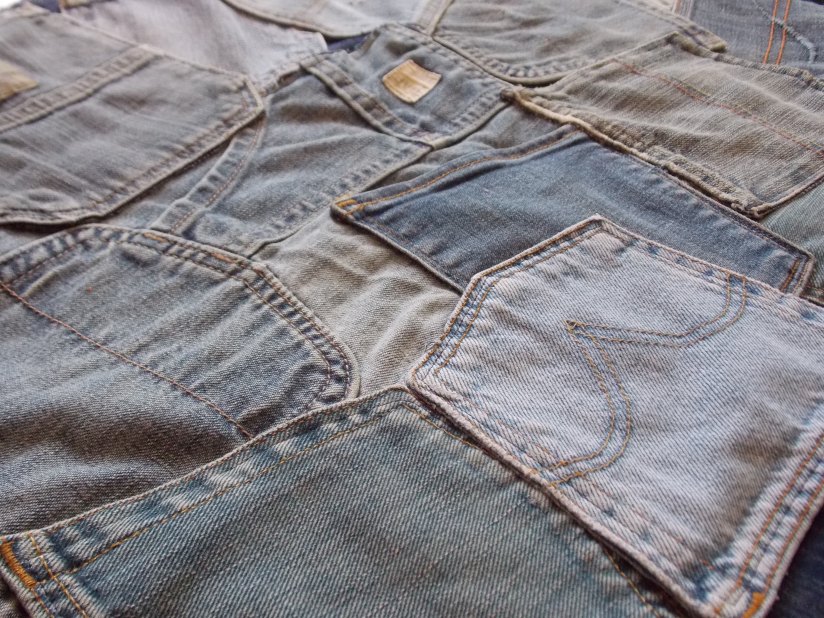
Then I took my handy dandy heavy duty Singer and began carefully sewing around the edge of each pocket. I tried to do all of the “top” pieces first, then went around what is visible of the ones that are more underneath. (Hopefully that makes sense?) Once they were all secure, I took a slightly larger rectangle of denim and sewed it so it is underneath and peeking out behind the original rectangle, just stitching around the perimeter.

DSCN4604

All in all, this didn’t really take that long to make. The prep of cutting all the denim is what actually takes more time. I would recommend definitely using a heavy duty needle, plus a heavier model sewing machine for this kind of project.

DSCN4602

Before use, I would also pop some Rug Gripper on the back so it doesn’t slide.

Overall, a unique little rug that is casual, country, and cool.

Parenting Tales, Points to Ponder, Uncategorized

What I’m Into: April 2016

Howdy, howdy, and Happy April!

I realize I haven’t posted much lately, but that’s because the weeks have just been flying by this Spring. Basically April through mid-June are a blur here, for there are just so many extra things going on with us this time of year.

In case you’ve missed me, these are some things I’ve been into lately:

*Refinishing furniture. I’m almost finished a piece that was in my daughter’s room, which I painted in this fun purple color from Krylon. I’m not into tedious processes, so this helped me skip the whole sanding/priming mess and just spray away! It went on great! I am also experimenting with doing my own chalk paint to redo a storage bench that has been lingering in my basement. (I used a baking soda paste mixed with latex paint.)

*Lula Roe. This is a clothing company which has grown exponentially in the past year. My best friend started selling it and I really love their comfy skirts and dresses. I know a lot of folks are into the whole legging thing, but it’s not quite my comfort zone….as a public service I’ll not wear the pair I own out of my house.You’re welcome;)

*Aussie 3 Minute Miracle. This is a conditioner I started using a few months ago and noticed a difference when I do use it regularly. My hair is quite thick and has the tendency to be dry and frizzy. There are many things that don’t really work for me, but this one actually does I think! I still have big hair, but at least it’s not so dry.

*Working part-time. After many years of being a stay at home Mom (which I loved), I have been working part time this year. I just felt like it was time, especially as some of my volunteer responsibilities will be waning soon. At first I was helping in a tax office, then a position became available at my church for an admin. I applied, interviewed, and got the job. I think it’s been a great fit for me.

(As a funny/embarrassing aside, I did wear a Lula Roe dress the first day I worked at the office alone. It happens to be a nice modest length but twirls very easily. A UPS man came to deliver a big package, and I went out to open the door for him and sign. As I was signing, a HUGE gust of wind suddenly came up and blew my dress up a LOT! Thankfully I was wearing tights underneath, but I was kinda embarrassed. I didn’t say anything, and he didn’t say anything….)

*The Princess Bride. I know I had seen this maybe once or twice years ago, but it’s a classic for many other people. We decided to watch it one night, and my girl AND all the boys liked it! They also just discovered Harry & the Henderson’s. Thank you 1980’s!

I’ll sign off for now. Thank you for checking in!

Rachel


Parenting Tales, Points to Ponder, Uncategorized

What I’m Into: November 2015

Well, I happened to blink and it’s the end of November already.

Not sure how that happened, but hey, here we are.

Here is a monthly menagerie of things I’m into as of late:

*Fair Trade shopping. I did a bit of shopping for people at a Ten Thousand Villages store that isn’t too far from us. Above is a pan flute that I bought for one of my little guys, as well as a thumb piano for his twin.

Oh yeah, I may have purchased a cute little something for myself too…including these darling bicycle earrings! They had some fabulous jewelry there, including some great clearance deals.

*Baking. It takes a couple of chillier days and I get into baking mode. Some breads, cookies, and the like. I love all the fun holiday baking recipes I see popping up this time of year!

Speaking of which, my kids really want me to try making these Snow Globe  cupcakes. Are they not the cutest thing ever? I think yes.

*Yarn. Yup, it was on my list last month and yet it remains.

Here’s a button-over cowl that I made up a couple weeks ago. I like making these with big round wood buttons, but I also discovered these wooden toggle buttons that I like. I’ve also been working on a couple of newsboy style hats and a baby gift for my best friend, who is due in just a couple of weeks.

*The Christmas story. Advent has begun and this year I’m super excited about all of my kiddos being in a Christmas pageant next week.

I have two little shepherds, one angel/townsperson, a wise man, and Joseph (played by Daniel, not Joseph. Confusing, I know, when you have all these boy Bible names rolling around in one family…)

Well, that’s all folks. Add in upcoming Christmas concerts, other kid activities, and a bunch of school happenings this week, and there’s my life this time of year. Thanks for tuning in!

Craft/DIY Ideas

Vintage Sewing Wreath

Y’all should know that I love making wreaths.

Plus I also enjoy sewing AND yard sale shopping for cool vintage finds.

This wreath is a happy marriage of all those things put together!

sewing wreath 009

I took a wide burlap ribbon and threaded it onto a wire wreath frame.

(Please don’t ask me to do a tutorial on it, for me it’s just trial and error. Can’t say I make the greatest ones anyway…)

Then I added a touch of red burlap ribbon for a little color.

sewing wreath 005

Next came the fun part for me. I added things like old button cards, thimbles, and sewing charms from a clearance item at Michael’s.

sewing wreath 012

Also, some wooden spools of thread, both empty and full.

sewing wreath 014

Most of these things came from yard sale box lots, even the cool stand that I have this displayed on.

sewing wreath 011

I have no idea what this is officially called, but it is a ruler on a tripod stand with an arm that tilts forward with hem lengths displayed on it. It is perfect for setting my wreath on.

sewing wreath 016

sewing wreath 003

This was a creative way to use up and display some of those vintage sewing notions I’d accumulated.

sewing wreath 019

All in all, this is different than any other wreath I’ve ever made, but I personally love it!

Craft/DIY Ideas

Vintage Feed Sack Corkboard

Just because I haven’t posted any tutorials on here in what seems like forever doesn’t mean I haven’t made anything lately. On the contrary, my friends, I’ve been crafting a plenty.

(When don’t I? Ummm… pretty much never.)

Here’s a little something I’ve been trying out with those vintage feed sacks I bought back in the summer.

2015 843

Cork boards covered with the front image of a vintage feed sack.

2015 846

I chose ones that still had a decent color to them. Lots of older ones have their image faded on the front, or even lots of pulls in the burlap.

2015 848

I’m still kicking myself for not buying one that had an awesomely bright image of a Holstein with one of the brand names. It was much more than I paid for these, but it could have been made into something really, really cool. There are quite a few farmers and former farmers in our families that would have loved it.

Anyway, using some bags that I DO have, I covered some plain Jane cork boards. You can probably surmise how I made these. Basically you cut out the image (give yourself a lot of margin on the sides to start with) and center it over the front of a board. Then, flipping it over, use a staple gun to tack it tightly around the back frame. Seriously–you need to be pretty liberal with the staples and pull the burlap tight as you go. This process took longer than I would have thought and I did end up yanking out some staples and redoing some.

2015 838

2015 845

Once things were nice and taut, I used these decorative furniture nails to embellish the edges. Mine are maybe an inch from the edge, so I just pushed them firmly into the cork, not the wooden frame. I think they give it a much more finished look.

2015 847

Next I would like to try making some on just a plain canvas for a wall art option.

Here’s a little peek at a stool I had recovered this summer from the same batch of feed sacks. We are enjoying it, plus one with a different design in my house right now.

My one caution for anyone that would like to try making something with these is to wash them well beforehand. I had line dried mine for something like a week, even letting them get rained on once or twice. That way a lot of the musty dusty stuff can get washed off of there before handling them too much.

Overall, I think these would make a great gift or act as a unique piece of functional decor in your home.

Points to Ponder

Last Week’s Frugal Accomplishments

Since I haven’t done a frugal posting in a bit, here is a conglomeration of some things I’ve done lately:

*We’ve had gorgeous weather as of late, so I’ve hung out all of our wash on the clothesline instead of running a dryer.

*Got some free bananas at a local store. As I was checking out after picking up some milk, the lady at the register asked if I wanted a free bunch that were turning brown. Of course I said yes! They went into smoothies this week.

*Speaking of smoothies, I hadn’t made any in a few months because our blender had died. I had refrained from buying one since it wasn’t really a necessity of life. Now that my husband is fully back to work (normal paychecks are finally rolling in!) and all of his medical bills are paid off, I felt better about buying one.

*Inherited a partial huge bag of long grain rice. I cook with rice a lot, so this was a blessing.

*Helped my aunt clean out some stuff from her apartment last weekend. She said we could take whatever we wanted and the rest could be donated. She used to sew a lot, so I was gifted a bunch of fabric, along with some other odds and ends.

*My husband was able to bring home a big bag of bacon ends and smoked cheese from work.

*Our local community fair was this past week. My parents met the kids and I there one night and treated us to some wonderful fair food for supper.

*Had a leftover smorgasbord for dinner another evening.

*I had a rice-filled heating pad that was getting old and kinda grungy. I tossed it and made a brand new one using the gifted fabric and rice.

photo (22)

*Purchased this fun crochet/lace vest at a thrift store for a couple bucks. I see this matching a lot of items and being a great layering piece for multiple seasons. The back looks really cool too!